- Published on
Cypress vs Playwright – Clash of the Titans: Working with API requests (4)
- Authors

- Name
- Aleksandar Zeljković
- @a_zeljkovic
In this series of articles, I am going to dive deep into the capabilities of two popular e2e testing frameworks: Cypress and Playwright. The comparison will cover technical specifications, documentation, setup, features, CI/CD integration, etc. The goal is to uncover the main differences and pros/cons of each framework and potentially help anyone who wants to make a decision between these e2e testing frameworks.
Working with API requests in Cypress
Cypress provides excellent support for all types of actions with API requests:
- making requests
- mocking/stubbing requests
- changing requests on the fly
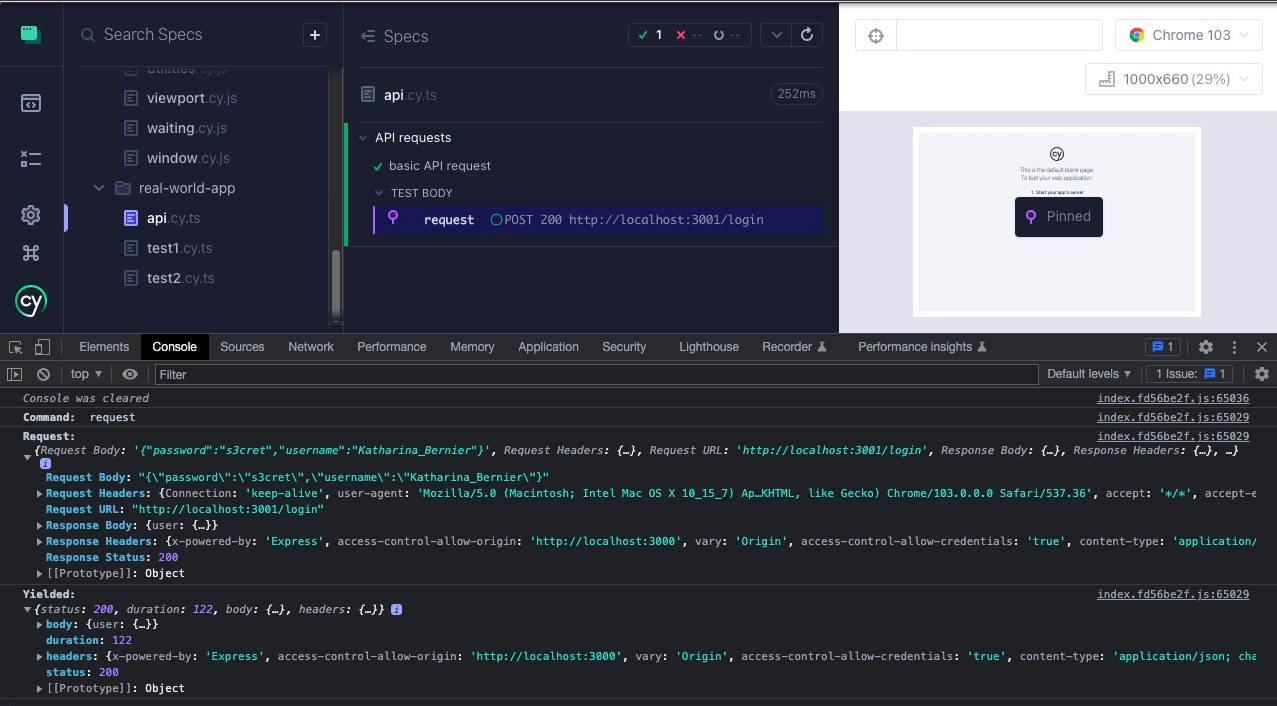
Cornerstone commands for working with API requests are cy.request() and cy.intercept() functions. Let’s start with the minimal example of making a request in Cypress:
it('basic API request', () => {
  cy.request('POST', 'http://localhost:3001/login', {
    username: Cypress.env('username'),
    password: Cypress.env('password'),
  })
})
We are sending a POST request that contains a body to the desired URL (request headers can be modified as well). If the user wants to check the request and the response data for this request he can do it in several ways:
- by logging it to a Cypress test runner via
cy.log() - by logging it to a browser console via
console.log() - by clicking on a made request in a Cypress test runner (this will print the request object to a browser console)
Now let’s convert this request to an API test by adding assertions to it:
it('API login test', () => {
  cy.request('POST', 'http://localhost:3001/login', {
    username: Cypress.env('username'),
    password: Cypress.env('password'),
  }).should((response) => {
    expect(response.status).to.eq(200)
    expect(response.body.user.email).to.eq(Cypress.env('email'))
  })
})
In the test, we can assert all parts of the response, including the status code, body and headers. Requests can be used to get or set data, states, or some other preconditions before the test runs. That way users can bypass UI for specific actions and spare some test execution time and increase test stability.
Let’s take a look at another powerful method for network request manipulation: cy.intercept(). In the next test, we are going to log in using the previous request command and make a new transaction:
import object from '../fixtures/xstate.json';
import notificationsObj from '../fixtures/notifications.json';
import selectors from '../fixtures/selectors/main.json';
describe('API requests', () => {
  it('intercept request', () => {
    cy.intercept('POST', '/transactions').as('transaction');
    // login via API
    cy.request('POST', 'http://localhost:3001/login', {
      username: Cypress.env('username'),
      password: Cypress.env('password'),
    });
    localStorage.setItem('authState', JSON.stringify(object));
    // start the scenario
    cy.visit('/');
    cy.get(selectors.newTransactionButton).click();
    cy.get(selectors.usersList).children().should('have.length', 4);
    cy.get(selectors.usersList).children().eq(2).click();
    cy.get(selectors.transactionAmount).type('5');
    cy.get(selectors.transactionDescription).type('big bucks');
    cy.get(selectors.submitTransactionButton).click();
    cy.wait('@transaction').should(({ response }) => {
      expect(response.statusCode).to.equals(200);
      expect(response.body.transaction.status).to.equals('complete');
    });
    cy.get(selectors.transactionSuccessMessage).should('have.text', 'Transaction Submitted!');
  });
At the beginning of the test, we are defining a method we want to intercept by defining an HTTP verb and path, as well as the alias for a given request. Alias is further used to manipulate the intercepted request. We are waiting for a request by the alias, intercepting it, and using the response data to make assertations and make sure the response is valid.
In the next example, we are going to stub the server response and check how our application will behave with the fabricated server data:
it('stub the response', () => {
  cy.intercept('GET', '/notifications', {
    statusCode: 200,
    body: notificationsObj,
    delayMs: 50,
  }).as('notifications')
  // login via API
  cy.request('POST', 'http://localhost:3001/login', {
    username: Cypress.env('username'),
    password: Cypress.env('password'),
  })
  localStorage.setItem('authState', JSON.stringify(object))
  cy.visit('/')
  cy.wait('@notifications')
  cy.get(selectors.notificationsBadge).should('have.text', '99+')
})
Within the intercept function, as a third parameter, we are setting the object which presents the stubbed response body. In this case, we are stubbing the three-digit number of notifications, and asserting that the notification badge number is 99+. This way we do not have to create a huge number of notifications to test the desired behaviour, since we can modify the server response.
Working with API requests in Playwright
For sending an API request, Playwright is using a dedicated context – request context, which can be associated with the corresponding browser context (in that case cookies and storage data are shared between them) or it can be independent. Let’s take a look at the simple example of the standalone API request:
test('API login test', async ({ request }) => {
  // send login request
  const response = await request.post('http://localhost:3001/login', {
    data: {
      username: process.env.USERNAME,
      password: process.env.PASSWORD,
    },
  })
  const body = await response.json()
  expect(response.ok()).toBeTruthy()
  expect(body.user.email).toEqual(process.env.EMAIL)
})
The following is being done in the test above:
- send the request with the desired body
- get the response body
- assert the request status code and the user email
API requests can be used for authentication in Playwright with the storageState() helper method, and later re-used for authentication purposes.
// login via storageState file
test.use({ storageState: 'playwright/fixtures/storageState.json' })
test('make a transaction and wait for the response', async ({ page }) => {
  await page.goto('/')
  await page.click(mainSelectors.newTransactionButton)
  await expect(page.locator(mainSelectors.usersList)).toHaveCount(4)
  await page.click(mainSelectors.user)
  await page.fill(mainSelectors.transactionAmount, '5')
  await page.fill(mainSelectors.transactionDescription, 'big bucks')
  const [response] = await Promise.all([
    page.waitForResponse('http://localhost:3001/transactions'),
    await page.click(mainSelectors.submitTransactionButton),
  ])
  const body = await response.json()
  await expect(response.ok()).toBeTruthy()
  expect(body.transaction.status).toEqual('complete')
  await expect(page.locator(mainSelectors.transactionSuccessMessage)).toHaveText(
    'Transaction Submitted!'
  )
  // wait for 1 second1 to see what's happening in headed mode
  await page.waitForTimeout(1000)
})
storageState file name/path must be set in the config file (playwright.config.ts) – storageState: ‘storageState.json’. Then, the created auth method can be called anywhere in the test/hook and dumped storage data will be loaded into the browser.
In the example above, after the sequence of UI actions, we are intercepting the transactions API call so we can verify the response data. Note that click the submit button and wait for response action need to be wrapped in Promise.all() to avoid the potential race condition.
Any request that is happening during the test can be intercepted using the route object. Containing methods allow the following request modifications:
- waiting for a certain request
- request modification
- response modification
- recording request to HAR file
- request abortion
test('stub the response', async ({ page }) => {
  await page.route('**/notifications', async (route) => {
    await route.fulfill({
      status: 200,
      contentType: 'application/json',
      body: JSON.stringify(notificationsObj),
    })
  })
  await page.goto('/')
  await expect(page.locator(mainSelectors.notificationsBadge)).toHaveText('99+')
  // wait for 1 second to see what's happening in headed mode
  await page.waitForTimeout(1000)
})
The example above will intercept requests to the /transactions route and modify its response. This way we can fake certain server behavior and test how our application will handle those.